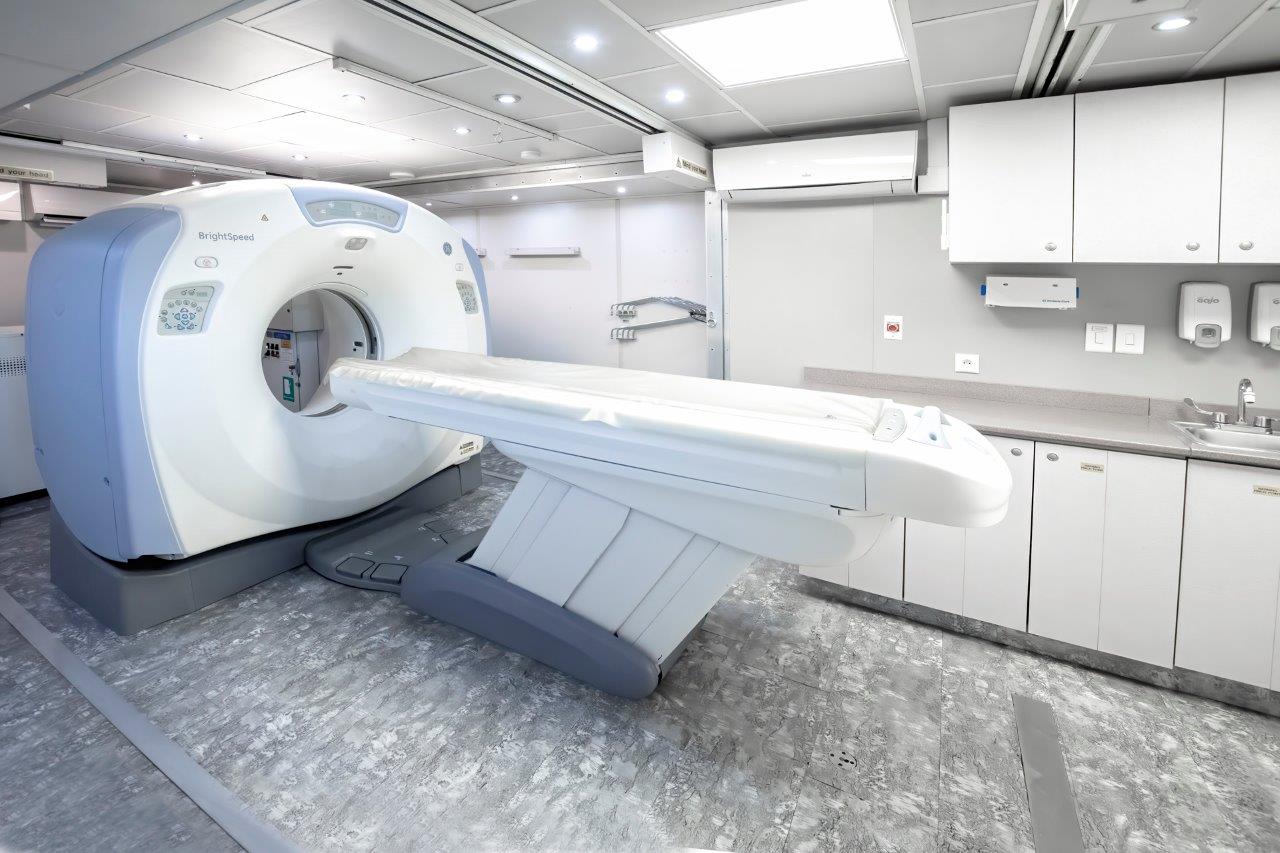
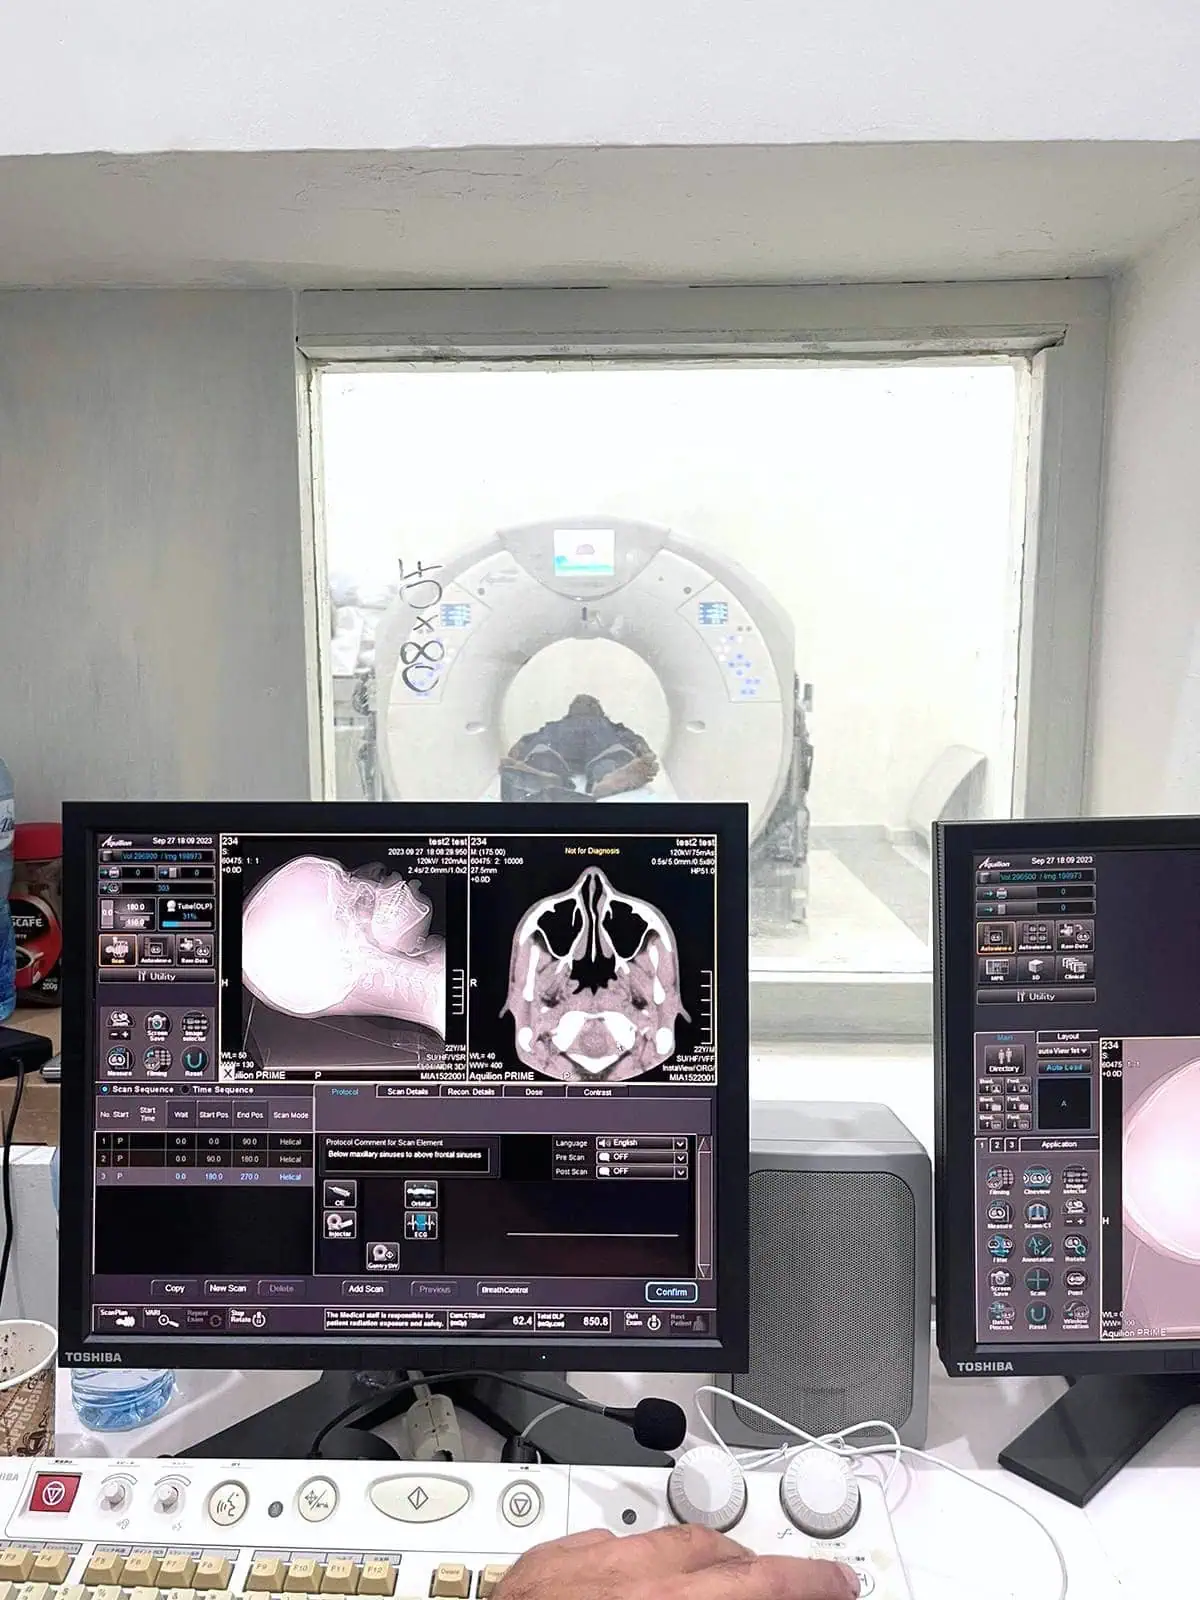
Europe – Customer Success Stories
Jun 18, 2025
Discover how we deliver affordable healthcare worldwide. Read customer stories from Europe and explore our imaging equipment and parts.
Siemens Sensation CT 4 part series PART 3 of 4. Tube Installation Tips Series List
Part 1 – Tube History Log • Siemens Sensation CT 4 part series – Part …
Part 2 – HV Troubleshooting Tips • Siemens Sensation CT 4 part series – Part …
Part 3 – Tube Installation Tips • Siemens Sensation CT 4 part series – Part …
Part 4 – Preventative Maintenance • Siemens Sensation CT 4 part series – Part …
Welcome back to another video. Last time, we discussed troubleshooting tips for a Siemens Sensation 64. Today, Kevin will demonstrate how installation kits can make your life easier.
Main Components of an Installation Kit
Table Bracket:
– Attaches to the head end of the CT table.
Tube Bracket:
– Hooks to the strap assembly to support the tube.
Strap Assembly:
– Used to secure and lift heavy parts.
Demonstration with a Stratton Z Tube
1. Positioning the Tube Assembly:
– Use the tube crate assembly with a wheelbase to slide the tube under the table.
2. Moving the Table:
Manually move the CT table over the tube assembly once it is in place.
3. Attaching the Strap:
– Attach the strap to the tube bracket and ensure it is secure.
Locking the Gantry
Using the Table Assembly in Service Mode
Additional Uses of the Installation Kit
Conclusion:
Next video, we’ll cover preventative maintenance for systems and explore more kits we offer at DirectMed Imaging. If you want hands-on training, visit our training page.
Questions, Comments, Concerns?
"*" indicates required fields
Europe – Customer Success Stories
Jun 18, 2025
Discover how we deliver affordable healthcare worldwide. Read customer stories from Europe and explore our imaging equipment and parts.
Africa – Customer Success Stories
Jun 12, 2025
Explore how we make quality healthcare accessible around the world. Read stories from Africa and discover our medical imaging equipment and parts.

The Answer to Rising Medical Tech Costs – Second Hand Scanners
Jun 10, 2021
One of the biggest challenges that poorer nations face is the constant battle against diseases, especially those associated with middle to old-age individuals. This is...

What You Can Expect from CT Scanners in the GE Optima Family
May 28, 2021
If there is any widely-known name and brand in the CT scanner world, it is GE. From its Hispeeds and Optimas, GE has been incredible...

Tips for Buying the Best CT Scanner for Veterinarians
Nov 10, 2020
Being a veterinarian means ensuring the well-being of animals under your care. One effective way to do this is to invest in a CT scanner....

Sep 29, 2020
There have been some imitators promoting Tech Tip Tuesday’s recently but the originators are continuing to bring you Tech Tip Tuesday’s with another Joe Sam...

Siemens Definition CT Tube Identification
Apr 28, 2020
In this tip, Matt covers the key things to look for when identifying what type of tube you require on your Siemens Definition system. The...

Dec 11, 2019
In this tip, Kevin covers using a break out box when troubleshooting your Siemens Definition CT system. A good way to isolate and measure problems...
Oct 30, 2019
In today’s tip Kevin talks about a simple foam protector strip that comes with every Siemens CT system. Quickly can be installed on any system...

Aug 10, 2019
In this tip Kevin covers the safe way to service your Siemens Definition gantry by properly shutting off the power before beginning any service work....